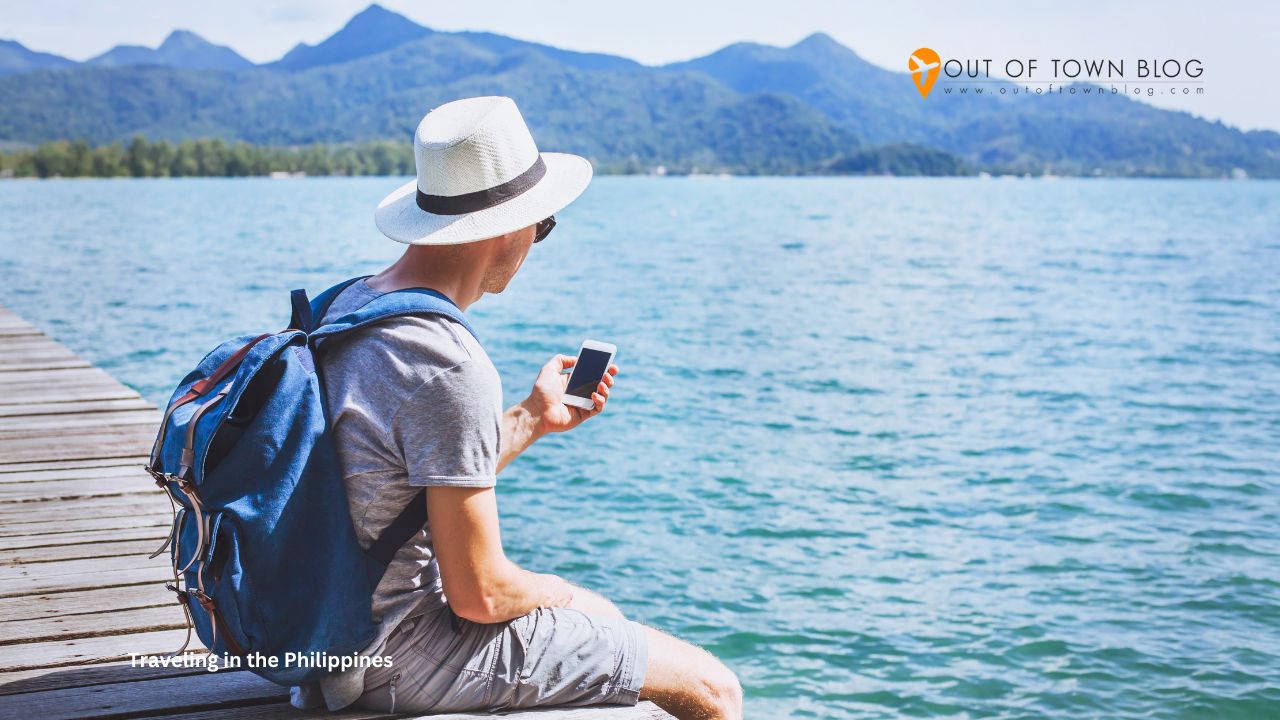
With more than 7,600 islands, a ferry schedule that changes with the weather, and some of the friendliest people you will meet anywhere, the Philippines rewards travelers who go with the flow. But going with the flow is a lot easier when you can pull up a map, message your guesthouse, or book a Grab at a moment’s notice. Staying connected is no longer a luxury here — it is part of the modern travel toolkit, from confirming island-hopping tours in El Nido to splitting a bill over GCash in Manila.
How to Stay Connected While Traveling in the Philippines
The good news is that the Philippines has come a long way in terms of mobile data. The challenge is knowing your options before you land, because the choices you make at the airport can shape how smooth (or how stressful) your first few days feel. Here is a practical, no-nonsense guide to staying online across the archipelago.
Understanding the Philippine Mobile Landscape
Three networks dominate the country: Globe, Smart, and the newer challenger DITO. In and around major hubs like Metro Manila, Cebu City, and Davao, all three deliver reliable 4G and increasingly widespread 5G. Coverage is genuinely good along popular tourist corridors, and you will rarely struggle to load a map or stream a playlist in the cities.
Head off the beaten path, though, and the picture changes. On remote islands, mountain trails, and some stretches of coastline, signal can drop to a single flickering bar or vanish entirely. Smart and Globe generally have the broadest reach into rural areas, so if your itinerary leans toward far-flung beaches and small islands, those two are usually the safer bet for coverage.
The Old Way: Airport SIM Cards and Their Headaches
For years, the default move was to grab a local SIM the moment you cleared customs. It still works, but it comes with friction. Since the SIM Registration Act came into effect, every prepaid SIM in the Philippines must be registered with a valid ID, which means filling out an online form and waiting for confirmation before your card fully activates. Add the usual airport queues, the hunt for a topping-up outlet, and the fiddly business of swapping out your home SIM and not losing it, and you can burn the better part of your first afternoon on logistics.
There is also the simple inconvenience of being unreachable on your normal number while your physical SIM sits in a hotel drawer. For a short trip, that trade-off is worth reconsidering.
The Modern Alternative: Travel eSIMs
This is where technology has quietly made travel easier. An eSIM is a digital SIM built into most phones released in the last few years — no plastic card, no tray, no swapping. You buy a data plan online, scan a QR code, and your phone connects to a local network the moment you land. Your regular SIM stays exactly where it is, so you keep your home number for calls and texts while a separate data line handles maps, browsing, and messaging.
For the Philippines specifically, a travel eSIM such as Cellesim lets you set everything up before you even leave home, so you walk out of Ninoy Aquino International already online — no registration counter, no queue, no scavenger hunt for a top-up. It is a small change that removes one of the most common first-day headaches, and it is the option a growing number of travelers now reach for on shorter trips.
How Much Data Do You Actually Need?
It is easy to overbuy or underbuy data if you have never thought about it. As a rough guide, casual use — maps, ride-hailing, messaging apps, a bit of social media, and the occasional restaurant search — burns through roughly 500 MB to 1 GB per day. If you plan to stream video, upload island photos and reels in bulk, or tether a laptop for remote work, budget closer to 2 GB or more per day.
For a one-week trip for typical sightseeing, something in the 5 to 10 GB range is usually a comfortable sweet spot, and choosing a travel eSIM with clearly labeled plan sizes makes it easy to match your data to your itinerary. If you are staying longer or working while you travel, consider larger or unlimited-data plans so you are not rationing megabytes on a beach in Siargao.
Connectivity Tips for Island Hopping
Palawan, Siargao, Bohol, and the countless smaller islands are the reason many people come to the Philippines in the first place — and they are exactly where signal gets patchy. A little preparation goes a long way. Download offline maps for your destinations before you leave a strong-signal area, and take screenshots of key details like ferry times, resort addresses, and tour meeting points.
Carry a power bank, because chasing signals and running GPS will drain a battery fast, and rural areas may have limited charging options. When you do have a strong connection, sync anything important — boarding passes, booking confirmations, downloaded playlists, and offline translations. And remember that many cafes, hostels, and resorts offer Wi-Fi, though speeds vary wildly, so treat it as a bonus rather than your primary plan.

Where You’ll Be Glad You Have Data
It helps to picture the specific moments when connectivity quietly saves the day, because they add up fast in the Philippines. The first is often right at the airport, when you want to book a Grab instead of haggling over a taxi fare after a long flight. Then there are the countless small transactions where a cashless payment app smooths things over, the restaurant and homestay searches when a plan falls through, and the group chats coordinating who is on which ferry.
Language is rarely a barrier here given how widely English is spoken, but a translation app is still handy in remote provinces, and it needs data to shine. Booking last-minute island tours in El Nido or Coron, checking updated ferry schedules after a weather delay, and pulling up your accommodation’s exact pin on a map when the tricycle driver has never heard of it — these are the unglamorous but constant moments where being online turns a potential headache into a non-event.
eSIM or Local SIM: How to Decide
If you are weighing the two, the decision usually comes down to trip length and travel style. A local SIM can make sense for longer stays, especially if you want a local number for calls, plan to use a lot of data over several weeks, or intend to top up repeatedly at neighborhood stores. The per-gigabyte cost can be very low once you are set up, and coverage is identical since you are on the same networks either way.
For shorter trips, quick getaways, or anyone who simply does not want to spend their first hours dealing with registration and swaps, an eSIM tends to win on convenience. You trade a small amount of flexibility for the certainty of arriving connected and keeping your home number live. Many frequent visitors end up using both approaches depending on the trip, and there is no wrong answer — the point is to choose deliberately rather than default to whatever kiosk you stumble past while jet-lagged.
A Quick Word on Staying Safe Online
However you connect, a little digital caution goes a long way in a country where you will often be booking transport and moving money on your phone. Public Wi-Fi in cafes and airports is convenient but rarely secure, so avoid logging into your bank or entering card details while connected to an open network. Having your own mobile data — whether from a SIM or an eSIM — is genuinely safer for anything sensitive, because you are not sharing a network with strangers.
It is also worth enabling two-factor authentication on your important accounts before you travel, and keeping a note of your key booking references somewhere accessible offline. These are small habits, but they turn your phone from a potential point of failure into the dependable tool it should be while you are far from home.
Final Thoughts
The Philippines is a country best explored with a loose plan and an open mind, but a reliable data connection is what lets you say yes to the spontaneous ferry, the last-minute homestay, or the tricycle driver’s tip about a hidden cove. Sort out your connectivity before you arrive — whether that is a registered local SIM or a ready-to-go travel eSIM — and you will spend far less time worrying about signal and far more time actually enjoying the islands. Safe travels, and enjoy every one of those 7,600 islands you manage to reach.
Follow and subscribe to OutofTownBlog.com on Facebook , Twitter, Instagram, Pinterest, and YouTube for more Travel-related updates.

